Sunday, January 13, 2019

A Stompin' Good Time with the Space Muhreens!

Scenario
Contexte


Got down and dirty with a marines army once again. It was a fun, nicely balanced and nail biting game with no clear indicators of the outcome until the fourth and fifth turns. Got worried when I saw all the knights and supporting armour as I'd never played them before, but it wasn't so bad.

The Armies
Les armées


Death Guard/Daemons List

L'armée Death Guard/Daemon


Battalion 1 (DG)
DP - talons
Lord - Combibolter
Pox x20
Pox x12
PMs x5 - Blight Launchers & Plague Sword
Bloat Drones x2 - Spitters
PBC - Spitters & Heavy Slugger
Defiler - Reaper, Scourge, & Combiflamer

Battalion 2 (Daemons)
Spoilpox Scrivener
Poxbringer
30 Plaguebearers - Instrument of Chaos & Icon
2x3 Nurglings

Vanguard (DG)
Lord- Fist & Combiflamer
Tallyman
Foul Blightspawn
Helbrute - lascannon, missile launcher


Space Marines/Mechanicum/Knights List

L'armée Space Marines/Mechanicum/Knights


Battalion 1 (Space Muhreens)

Librarian
Captain
5x Primaris
5x Primaris
5x Scouts
Primaris Repulsor
3x Primaris Inceptors

Battalion 2 Mechanicum

2x Tech Priest Dominus
5x Skitarii Rangers
5x Skitarii Rangers
Dunecrawler

Super Heavy Auxiliary Imperial Knights

Knight Gallant
2x Warglaive Armiger


The Mission
La Mission


We decided to play the new Eternal War Mission, Beachhead, from Chapter Approved 2018.

The Table
La table


I had just got a brand new camera 2 days before so I wanted to test it out. We quickly threw a bunch of terrain on the table that would look nice in photos, ensuring a decent path on either side for the Knight. A large piece of LOS blocking terrain was placed dead centre and we played with the ITC rule that the first floor was completely LOS blocking.

Deployment
Déploiement


I won the roll off so I chose the far side of the table and thus my opponent deployed first. He had his knight controlling his right flank and most of his other stuff took the left.


I was going to try to hide as much as possible but then decided to go for target saturation instead, putting almost everything on my right flank, away from the big knight's guns.


My Nurglings were well positioned on either mid flank, ready to harass whatever came running down either of the corridors.


I put my larger squad of poxwalkers in position to attack the scouts who had set up camp on the middle objective.


The other squad shielded my Lord with a Powerfist who hunkered down in some ruins and waited for his chance to go head on with the Knight.


I had no idea how to fight knights but I thought it wouldn't do to not at least try some desperate gambit. I failed to seize and the game began.

3 Battlefronts
Les 3 Fronts


In the first few turns, the battle split into 3 fronts: the Knight Gallant's advance on my left flank, and a nasty snarl of almost everything else on my right. There was also the push for the center objective.

The Knight Gallant's Advance
L'avance du chevalier Galant


The Knight advanced and managed to knick off one poxwalker whose head was sticking out.

My poxwalkers and Lord advanced in readiness for a turn 2 charge while my Nurglings started to harass the knight and his mechanicum flunkies.

The Knight totally curb stomped the Nurglings and wiped out the ensuing wave of poxwalkers that assaulted him next but my Powerfist Lord managed to put 8 wounds on it! Who would've thunk it? He was stomped as well like an afterthought following his moment of glory.

My Dreadnought, Bucky, was in an excellent position to fire on the Knight several turns but I forgot about him turn 1, and used him to kill 3 Inceptors that dropped in. They put the hurt on my poxwalkers in the centre before being obliterated by my fire frenzy stratagem. Then the Knight squashed him too.

My Defiler, Archibald, tried to settle the score late game, but every attack that it didn't whiff was saved. Then it got stomped too. I lobbed a few Blight Launcher Shells at it but didn't accomplish much.

In summary, his Gallant took my objective. It was very appropriate for a big stonkin' mofo like it to do.

The Snarl on my Right Flank
L'encombrement de mon flanc droit


Meanwhile, on my right flank, things got claustrophobic. My Bloat Drones, Prince, PBC, and plague marines were channelled into the narrow corridor as well as most of my Characters.

One of my Bloat Drones got whacked turn one, but his buddy held on tenaciously, surviving a hail of all kinds of bullets in turn 2.

His luck ran out turn 3, although I can't remember what killed him.

My opponent's snipers took a wound off my Daemon Prince Warlord but didn't accomplish much before they were bum rushed in turn 3 by a great horde of plaguebearers. The Plaguebearers came up from behind in a pincer move, forcing his army to be crushed between the forward advance and the PBs.

They attacked the Repulsor and the Dunecrawler to little avail. I had burned most of my Command Points by this time and couldn't buff them much.

It was the combination of my PBC's cannon, the Defiler's very random armament, and the Blight Launchers from the plague marines; that eventually whittled down the Repulsor to its doom at the end of turn five. All this to say, my DG list sucks at killing armour.

I managed to ace one of the Armigers due to the Foul Blightspawn tenderizing him with a 9 wound shot.

Something else was able to finish it off quickly after that. The second one died ignominiously in the following turn from combined efforts of several units though it did ding up my warlord.

The Nurglings got tied up with the Primaris, and eventually my Prince, the Poxbringer, and his Warlord got roped into this very nasty Close Combat.
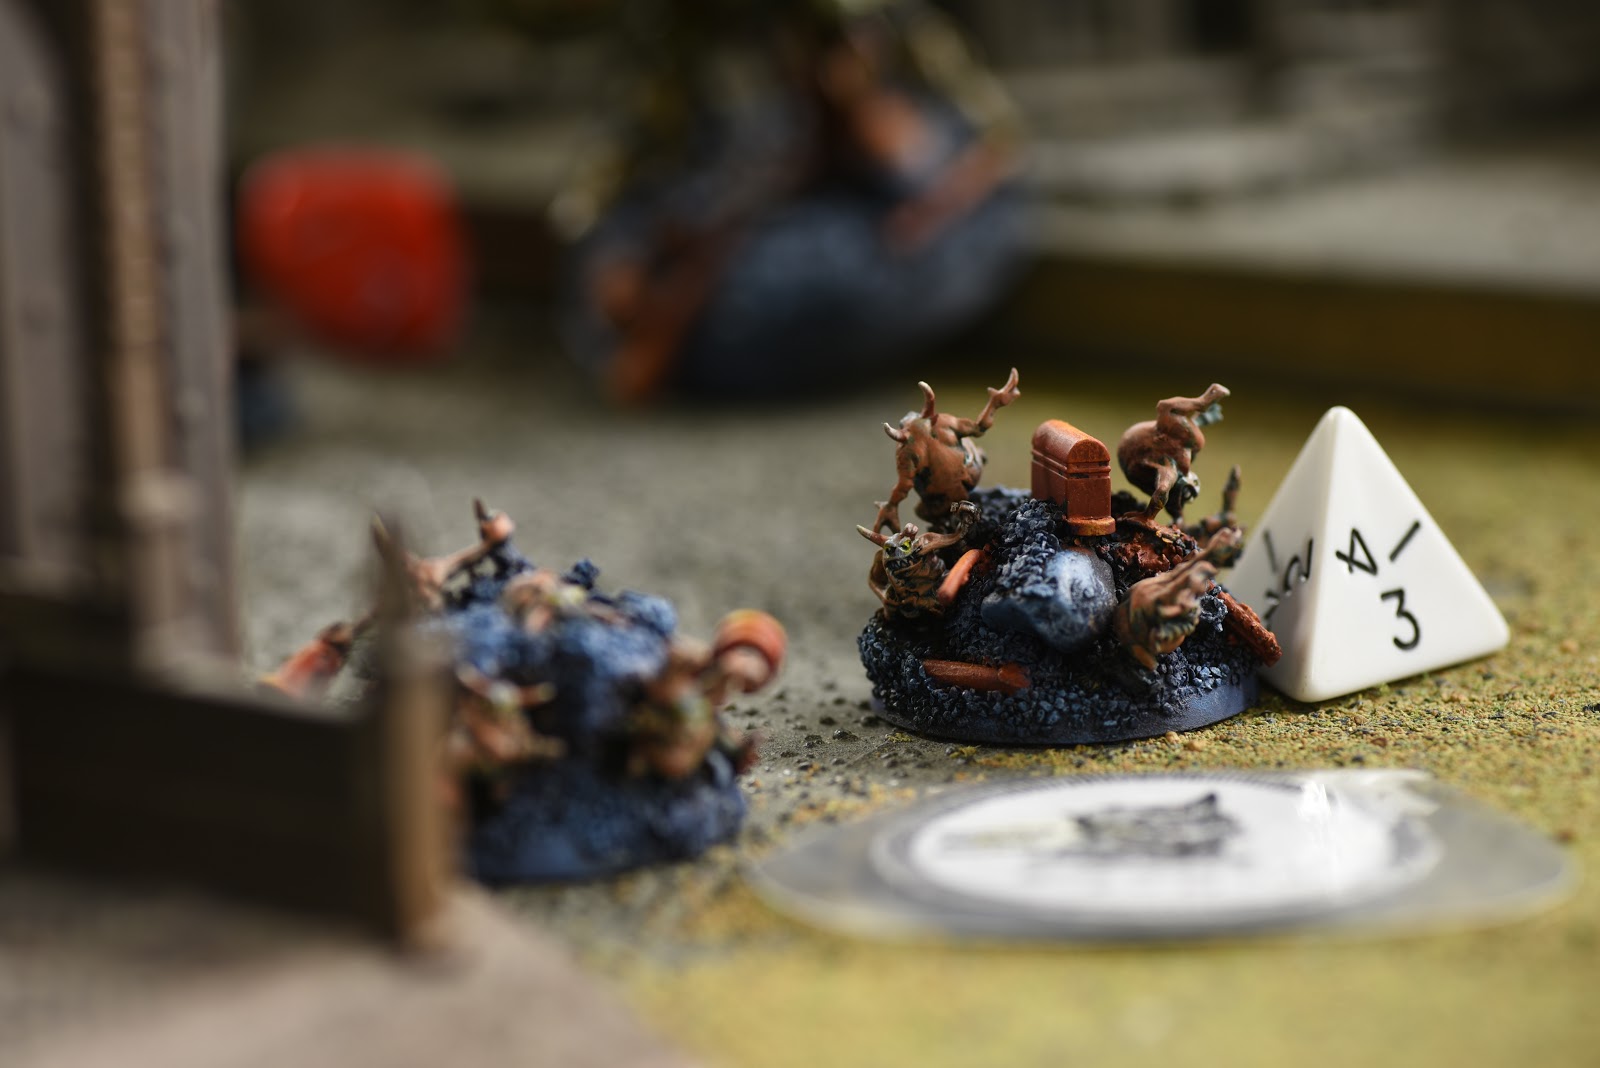
It dragged on to turn 4, with my prince performing miserably in hand-to-hand. If I remember correctly, his librarian and his warlord finally went down to Smites in the face but his claws didn't do much until turn four when they sliced up the mechanicum character.

His armour only bounced 1 mortal wound back as well which was disappointing.

What surprised me was that my opponent didn't ever opt to leave combat with my Warlord. What usually happens against marines is that I charge them with my prince and then the targets retreat and the rest of the army shoots the crap out of him because he's now the closest model and is therefore targetable. I didn't rush into combat until turn 3 though despite the number of juicy targets. This might have been what kept me alive.

My Warlord survived the game, slicing up the stragglers from the remaining mechanicum squad as a final adieu.

The Push for the Center Objective
La bataille au centre


Turn 1, I advanced my poxwalkers forward for a turn 2 charge.


I then burned a lot of CP buffing the hell out of them before they attacked the scouts. I think it was overkill since only 1 survived as his mates stood up as poxwalkers again.

The Knight cleaned them off the objective soon after. The surviving scout and a mechanicum character took back the objective in Turn 3. I sent my PBC and Foul Blightspawn to deal with this problem. They both rolled very well, the PBC melting the Mechanicum guy and my Blightspawn getting something like 4 strength 7 hits, causing 9 wounds on the scout. A wee bit overkill.

Keeping my Eyes on the Ball
Je reste concentré


I completely flubbed the strategy in the game, not realizing the purpose of the game was to get those objectives every turn. I was just having too much fun gaily blowing everything to hell with my spitters and blight launchers.

I was also supposed to try some new strategies. I had given my prince the warlord trait, arch contaminator, but in the heat of the action I played the prince as having the +1 Disgustingly Resilient trait. That's because I never change my trait, so it'll take a few more games I think for changes like this to sink into my thick skull. This gaff cost me because I had a storm of plague weapons in that breech that would have benefited enormously from Arch Contaminator.

Another head scratcher in this vein is that I took a new psychic power on my Poxbringer to buff my Plaguebearers. I then proceeded to deploy him in a support role for my Daemon Prince and daemon engines, forgetting I had changed his usual power. That wasn't all though. I checked the power on my sheet and saw it was different but then decided I must have made a copy/paste error since I didn't recognize the power. My biggest obstacle in this game is really my own brain. Thankfully Death Guard are relatively easy to play so their resilience wins the game that their commander probably couldn't.

He had only two models on the table when all was said and done, but those models were worth more in points than everything I had left. Predictably they were the Dunecrawler and the Gallant as I lacked the armour busting strength to KO them. I still had my prince, Tallyman, PMs, Foul Blightspawn, plaguebearers (though heavily depleted), and PBC. This was weird since mid game I thought this flank would fail for sure and I'd be tabled.

I still managed, despite myself, to garner 8 points over the course of the game + slay the warlord, linebreaker, and maybe first strike (can't remember).

My opponent had 8 points total so I won in spite of being mostly oblivious to the mission parameters and forgetting all my previous battle plans. He was very sporting about it all, allowing me to try one last time to kill the Repulsor in the final turn, even though it had no bearing on the final results. It was a fun game against a solid opponent that kept things interesting. As I've said before, it helps enormously when two armies are evenly matched as they were today.

Contents
Tables des matières


Side Note:

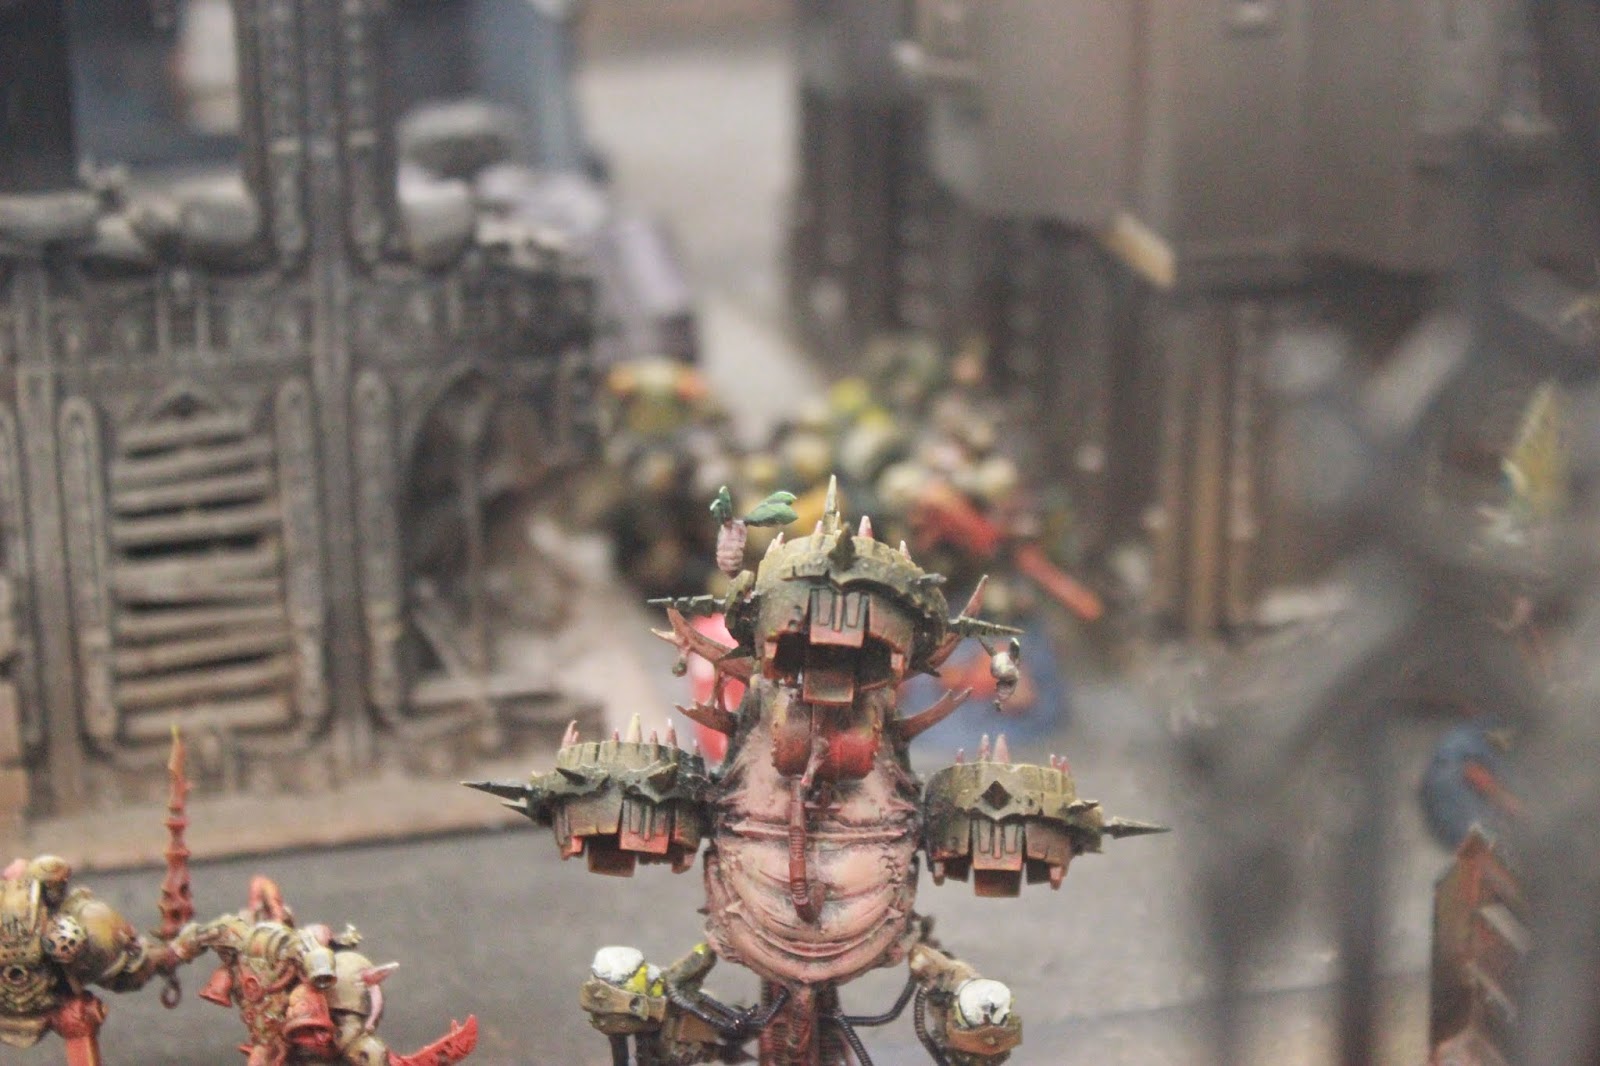
I'll leave you with a few pics of this army that was on the table next to us. I've known the father and son team for years and they make some marvelous scratchbuild stuff. There were hundreds of models (difficult to capture with a macro lens), and they were mostly scratchbuilt. I couldn't tell you which parts exactly, but I know the masks were custom built.

Enjoy!


Contents
Tables des matières

Friday, January 4, 2019

Keystone Capers: Apocalypse Battle Report

The table was two 6x4 tables attached end to end. We had a nice selection at our local gaming store and chose the cities of death board in particular. We then proceeded to pack it with terrain; me being the most enthusiastic because my image was of a war torn city with tight cramped shooting lanes. My only tenet was that super heavies needed to be able to cross the entire board so there had to be one clear yet circuitous lane. Photos-wise, the densely packed board made for a much more appealing aesthetic. The marines’ player kept quietly removing terrain every time I turned my back so I quietly just put it back. Finally we agreed on his end, the board would have almost no terrain so he could deploy his bastions properly.
The teams were Nurgle & Ultrasmurfs (Imperial) against the two Slaaneshi players (Chaos), 5,000 points each for a total of 20,000 points. Not ideal fluffwise but I figured out a decent story as we were playing. My partner was openly contemptuous of the alliance, choosing to deploy completely on the other side of the table, even though he had the choice to deploy on both ends. Nurgle is about unconditional acceptance and love though so I put a bunch of zombies in his deployment zone to ensure a proper infection got started.
We did a casual deployment in the name of alacrity, so everyone just started putting their models on the table. Chaos (The two Slaaneshi players) deployed first and wanted to go first, so I agreed to let them for fairness’ sake. Imperial took almost 20 minutes longer as I was still sorting cards when Chaos started deploying.
When the dust settled on turn 1, Chaos had advanced towards all the objectives but stopped shy of actually claiming any. Their plan, which came to fruition in turn 2, was to seize all the objectives and run back into their own zone. I had played my troops really aggressively, depleting all my poxes, nurglings and plague bearers in one turn; and managed to claim 5 of 6 objectives giving us a clutch 2 KSP right off the bat. This I invested in the Warpborn, sacrificing a single surviving poxwalker. My main losses that hurt were Rotigus & the troops.
My plague marines and Lord were largely forgettable, shooting into a squad of noise marines in a choke point. I found it really difficult to kill anything with regular units. It really required ganging up. Thus with both my bloat drones and the defiler I was able to chew through the squad. This fight dragged on for a few turns, until some termies dropped in and cleaned house. My first daemon prince with spitter was knicked pretty quickly doing nothing of note.
Turn 2, I went hunting gifts, prioritizing my Warhound, my daemon prince warlord, and the Warpborn. I picked weak easy targets for the Warhound but he still managed to only barely kill a rhino, gaining a +2 invulnerable Tzeentch gift. His weapons are largely useless against anything that is not Titanic or a Building. I had to gang up to get a gift for the prince. My Plagueburst Crawler vomited on some noise marines, then my dread and prince attacked them in CC, and my prince delivered the killing blow, gaining another +2 invulnerable save. The Warpborn was a superstar whacking both an HQ with his warpflame and a rhino in CC. This gave him a 2+ invulnerable and a 24” move with the Slaanesh gift, making him über resilient and fast.
When I was designing the scenario, I thought there would be more gifts granted than actually happened overall. In total maybe 12 units got buffed. The marines had a few bastions buffed and Slaanesh got buffs on the giant tank and the Heldrakes from what I remember. At least those were the things that were in my face for the rest of the game. I think also the big Slaanesh Forgeworld Daemon got buffed as well since its save was 3+ as well.
Chaos got 1 KSP and Imperial got none in turn 2.
Turn 3 was a blast. Dead units came back including Rotigus, some Noise Marines, Some Snipers and a Dread. Imperial took control of Rotigus and the Noise Marines. I still didn’t get to use Rotigus once since he was taken out by the Fellblade’s crazy lascannons. All the other units were shot down as well except the noise marines. Nobody likes a revenant.
The Warpborn became a force to be reckoned with when he tore across the table into the middle of the board and stomped a massive squad of cultists with his warpflame and CC attack. I had ambitions of using him single handedly to clear all the objectives Chaos was dragging back deep into their deployment zone.
Meanwhile I discovered just how crazy the Macro weapon from Forgeworld really is. Turn 2, I thought my Warhound was a steaming overpriced pile of poop but then he one shot the Fellblade, and I felt better about investing 2000 points into him. He’s still a glass cannon unit so it’s debatable how good he is. The +2 invulnerable kept him in the game until the end though, which was a welcome change. Normally it gets whacked in the first turn that I put it on the table. It also absolutely requires Titanic targets to make him worthwhile. The shooting is abysmal against anything else.
Dabo tried to ace my Warhound with a ton of obliterators but he rolled poorly and my 3+ invulnerable save kept me going. My CC plague marines came in with the Foul Blightspawn but performed poorly, killing maybe two I think. This fight dribbled on for another two turns but they were tied up at least. The crazy flamer of the Foul Blightspawn, which I thought was common knowledge, took my opponent by surprise. My plague marines were all dead by turn 5.
Imperial got 0 and Chaos got 2 KSP at the end of turn 3.
Turn 4, most of the west side of the board’s terrain collapsed from the Warpstorm effects. The colourful Slaaneshi player got hit the hardest, as it was only his units that were in the buildings when they fell.
With all their KSP, Chaos revived the Fellblade. I one shot it again though with Chester. At least he got another turn of firing.
The battle for the objectives became really intense. Dabo ran off with two objectives in his rhinos, grabbing the second with the Keystone Capers Stratagem. I managed to liberate one by focus firing everything on the units around it. I was underwhelmed by my ability to take out armour when it took 2 bloat drones, a ton of noise marines, my PBC, and my rhino guns to kill a rhino. The Leviathan was excellent at clearing cultists with the butcher cannons though.
The Slaaneshi players were annoyed at the Warpborn so they tried to hem it in with some defilers, a warlord and a couple of fiends. The fiends attacked first eating the flamer, and then a defiler ate the next volley. By the end of the turn, the Warpborn had wiped out all his aggressors and was ready to charge something else. Unfortunately, the big flyer then bombed him, causing 16 mortal wounds, and taking him down to 1 wound.
Despite our best efforts, Chaos held onto the objectives, seizing another 2 KSP.
Last turn, Chaos brought in their own Warpborn, which was then turned on their own unit in a funny twist of fate. Due to the Turncoat effect in Turn 5, their unit of noise marines holding an objective defected to the Imperial side. It then got warpflamed by the Warpborn for their treachery. I made sure that the surviving member dropped the objective in plain sight of my teammate’s lascannons. My warlord meanwhile became a treacherous git himself. We didn’t get the opportunity to put him down though.
It looked bad for us as Chaos was holding 5 of the objectives still, but through judicious lascannoning my Ultrasmurf partner took out three. I tried to kill a fourth with Chester but he just completely whiffed it and I was out of Command Points to do a reroll. And that as they say was that. The game was declared a draw as neither side had achieved their targets.


Contents
Tables des matières

Thursday, December 6, 2018

Keystone Capers: New Year's Apocalypse

(Note: Shortform of rules down below in Tokens and Charts section)

Scenario
Contexte


Cultists on the Imperial Bastion planet Ooee-rsofukt have made themselves known in a grand fashion. For the last few months, declaration of martial law seemed to be keeping the widespread civil unrest and rioting in check. Unfortunately, overnight a large portion of the planetary defense forces defected to Chaos, mounting banners proclaiming their new allegiances. As old allies suddenly turn on each other and the streets are bathed in blood, the Chaos cultists have shorn a portal in the warp, releasing all manner of horrors into the centre of the main city. Honour and duty seem to corrode and melt away as if they were a long distant dream as imperial subjects and cultists become largely indistinguishable.

Les cultistes de la planète Bastion Impériale Onestdanslemerde se sont présentés d'une manière impressionnante. Il y a quelques mois, la déclaration de la loi martiale avait gardé une paix fragile. Mais du jour au lendemain, une grande partie de la force de défense planétaire a dénoncé l'Impérium pour Chaos. Les alliées anciennes se retournent les unes sur les autres et maintenant les rues sont inondées de sang, pendant que les Cultistes cisaillent une déformation temporelle et spatiale. Maintenant, tous genres d'horreurs se trouvent dans le milieu de la ville. Le Chaos nuit à l'honneur et le devoir, et les citoyens impériaux deviennent indiscernables des cultistes..

Victory Conditions
Pour gagner


Players will be divided into two teams, Imperium versus Chaos.
(Eldar and Tau will join the Imperium and Ork, Dark Eldar and Nids will join Chaos.)

Les joueurs seraient divisés en deux équipes, Imperium contre Chaos.
(Eldar etTau seraient Imperium et Ork, Dark Eldar et Nids seraient Chaos.)


Victory depends on the closure of the Warp Gate. Chaos wants to open the gate, and the Imperium wants to close it. The gate is kept open by the continued existence of 4 or more keystones in which case, Chaos wins. It will be closed by the destruction of 4 or more keystones, in which case the Imperium wins. If neither side can achieve these conditions then the game is a draw.
La victoire est liée à la fermeture du portail de la Déformation temporelle et spatiale. Chaos aimerait ouvrir le portail, et l'Imperium veut le fermer. S'il y a toujours au moins quatre clefs de voûte survivant à la fin de la partie, c'est Chaos qui gagne. S'il y a au moins quatre détruits, c'est l'Impérium qui gagne. S'il n'y a aucune équipe qui peut atteindre leur but, la partie termine en match nul.

Keystones have the following characteristics:
Les clefs de voûte ont les caractéristiques suivantes:


1) There are 6 keystones total.
1) Il y a six clefs de voûte en total.

2) They will be deployed as regular objectives at the outset of the game following the usual restrictions with 3 in each Keystone Deployment zone.
2) Ils sont déployés comme des objectifs ordinaires au début de la partie avec les restrictions habituel. Il y a trois dans chaque zone de déploiement de clefs de voûte.

3) They are invulnerable until the fifth turn when the warp fluxes and they become targetable. They will then have the following profile T5, W5, Save 3+.
3) Ils sont invulnérables avant la cinquième tour quand ils seraient destructibles avec les fluctuations de la déformation spatiale et temporelle. En ce moment, ils ont le profil suivant: Endurance 5, Blessures 5, Sauve garde 3+.

4) If two opposing units are within 1" of a keystone, neither possesses it.
4) S'il y a deux unités dedans 1¨ d'une clef de voute, aucune des deux ne la possède.

5) If an unembarked infantry unit passes within 1" of a keystone during their movement or combat phase, they can pick it up. If they are able to embark on a transport, they can bring the keystone on the transport with no further penalty. Alternatively, they can carry it around with the unit and the unit will suffer a -50% penalty to their movement. In addition, one member of the unit cannot fire or fight in combat while carrying a keystone. The keystone will take the space of 1 regular infantry model in a transport, thus a squad of 9 regular marines could carry it onto a rhino, but a squad of 10 could not. A keystone cannot be damaged or destroyed by the embarked units on a transport. They must exit with the keystone to do so. It is vulnerable however during the 5th turn to the vehicle exploding as any regularly embarked model.
5) S'il y a une unité d'infanterie qui ne sont pas dans un transport dans une portée de 1" d'une clef de voûte pendant leur phase de mouvement ou de combat, il peut le ramasser. S'il est capable de monter dans un transport, il peut amener la clef de voûte dedans le transport sans d'autres amendes. Alternativement, il peut l'amener avec eux et il va soumettre une peine de -50% de mouvement. De plus, un membre de l'unité ne peut pas tirer ou attaquer en combat pendant qu'il amène la clef de voûte. La clef de voûte va prendre l'espace d'un membre d'une unité ordinaire d'infanterie. Une unité de 9 marine peut donc l’amener dans un rhino, mais une unité de dix ne peut pas. La clef de voûte ne peut pas être endommagée ou détruit par les membres de l'unité pendant qu'ils sont embarqués. Il faut qu'ils sortissent du véhicule. La clef de voûte est vulnérable aux éclats du transport au cinquième tour comme toutes les figurines embarquées.

6) For every 2 keystones a side possesses at the end of a full turn (both sides have played), that side earns 1 Keystone stratagem point. These can be used to purchase the Apocalypse stratagems below.
6) Pour chaque 2 clefs de voûte qu'une équipe possède à la fin d'un tour au complet (chaque équipe a joué), cette équipe gagne 1 point du stratagème de la clef de voûte. Ils sont utilisables pour acheter des stratagèmes d'Apocalypse détaillés en bas.


Deployment
Déploiement


Imperial deploys from the edges of the map in the yellow zones. Chaos deploys within the Chaos Deployment zone in the centre of the map. This is to emulate Chaos pouring forth from the gate.
L'impérium se déploie aux bords de la table dans les zones jaunes. Le Chaos se déploie dans la zone de déploiement du Chaos au centre de la table. Cela donne l'impression que le Chaos se verse du portail.

Units are simply placed anywhere in their respective deployment zones. This arrival is not a Deepstrike type maneuver and thus it does not adhere to traditional Deepstrike restrictions. In particular, units arriving in this fashion can land anywhere more than 1" from enemy units. They can then move, shoot, and charge as normal. This is to avoid situations where the enemy may try to make it impossible to deploy by placing a conga-line of models in their opponents' deployment zone.
Les unités peuvent se déployer dans n'importe quelle partie de leur zone de déploiement. Cette arrivée n'est pas un mouvement de type d'une attaque en profondeur et par conséquent, il n'adhère pas aux restrictions traditionnelles d'une attaque en profondeur. Notamment, les unités qui arrivent de cette façon peuvent s'atterrer à n'importe quelle position qui est plus d'un pouce d'une unité ennemi. Ensuite, il peut bouger, tirer et attaquer comme d'habitude. Cela est pour éviter qu'une unité ne puisse pas se déployer en raison d'une unité ennemie dans leur zone de déploiement.

Alternatively, units may also deploy via other more conventional methods like deepstriking and in these cases, they must respect the usual associated rules.
Alternativement, les unités peuvent se déployer par les méthodes conventionnelles comme les attaques en profondeur, et dans ces cas, ils doivent respecter les restrictions habituelles.

There are three possible deployment waves per side.
Il y a trois vagues possibles de déploiement par équipe:


Turn 1


Premier Tour


At least 33% of the total of each army must enter play.
Au moins 33 % de l'armée doit entrer.


Turn 2


Deuxième Tour


At least another 33% of the total of each army must enter play if possible (if you have already deployed 80% of your forces, you cannot deploy more than 20%).
Au moins une autre 33 % de l’armée doit entrer si possible (si vous avez déployé plus que 80 % de votre armée pendant le premier tour, c'est impossible que vous déployiez plus que 20 %).


Turn 3


Troisième Tour


The remaining units must enter play.
Les unités restantes doivent entrer.


If there is no place to deploy in your zone then the unit cannot deploy and must wait for the next wave. Any units not deployed by turn 4 are considered destroyed.
S'il n'y a pas d'espace dans la zone du déploiement pour votre unité, il faut que l'unité reste en réserve pour une autre tour. Des unités qui ne sont pas déployées par le quatrième tour sont considérées comme détruites.


Warpstorm Effects
Les effets de la déformation temporel et spatielle


Each turn, the unstable energies of the warp wreak havoc on realspace laws and physics. These special rules take effect for the specified turn only:
tour, les énergies instables de la déformation temporelle et corporelle dévastent les lois et physique de l'espace réel. Les règles qui suivent n'appartiennent plus qu'au tour spécifié.


Turn 1


Premier Tour


Springy Steps!
Un pas plus léger.

The battlefield seethes with warp energy. Units feel energized and race into battle with incredible alacrity but unaccustomed to the breakneck pace, accidents are bound to happen:
Le champ de bataille est bouillonnant d'énergie de la déformation. Les unités se sentent stimuler de courir dans la bataille avec un empressement impressionnant. Par contre, cette vitesse est dangereuse, et des accidents se produisent.

All units can double their movement speed but must roll a d6 if they do chose to do so. On a 1, the unit suffers d3 mortal wounds.
les unités peuvent doubler leur vitesse, mais il faut jeter un d6 en premier si les unités choisissent de la faire. Un résultat de 1 signifie d3 blessures mortelles.

Hey Bob. You should tell your lasgun that smoking is a filthy habit!
Bob. Avisez votre fusil que fumer est une très vilaine habitude

At the same time, range weapons begin to smoke and burn while the metal begins to twist and transform in the hands of the wielders.
En même temps, toutes les armes de longue portée commencent à chauffer et bruler dans les mains de leurs détenteurs.

All guns gain +1BS (6+ becomes 5+) for overwatch and gain +1 strength and +1 damage but users must roll a d6 before firing. On a 1, the weapon overheats inflicting as many mortal wounds as its Damage stat (a lascannon would cause d6 mortal wounds to the firing unit).
les fusils gagnent +1 BS (les 6+ deviennent les 5+) pour Overwatch, et ils gagnent +1 de force et +1 déjà. En tirant, les utilisateurs doivent jeter un d6 avant tirer. Un résultat de 1 signifie que l'arme a chauffé de trop. L'utilisateur souffre donc des blessures mortelles équivalentes aux montants de dégâts de l'arme. Un lascanon peut donc faire d6 blessures mortelles.


Turn 2


Deuxième Tour


May the blessings of the dark gods be upon you...
Que les bénédictions des dieux malins soient sur vous...


Any unit that delivers the killing blow to an enemy unit gains a blessing from one of the dark gods of their choice:
N'importe quelle unité qui inflige le coup fatal sur une unité d'ennemi va recevoir une bénédiction d’un des dieux de leur choix.

1) Disgustingly resilient 5+ (+1 if unit already has DR, thus 5+ becomes 4+)
2) +2 to invulnerable save (max 2+)
3) Movement doubles
4) +4 attacks

1) Résilience répugnante (+1 si l'unité possède déjà ce pouvoir. 5+ devient donc 4+.
2) +2 sauvegardes invulnérables (max 2+)
3) Le mouvement est doublé
4) +4 attaques

If one unit slays multiple units, it can gain multiple gifts but never the same one twice.
Si une unité tue plusieurs unités, cela peut gagner plusieurs bénédictions, mais jamais les mêmes deux fois.


Turn 3


Troisième Tour


Is that you brother?
Est-ce toi mon frère?

The warp energies breathe new life back into slain comrades.
Les énergies de la déformation donnent une vie nouvelle au corps de vos camarades tués.

Each player must return one slain unit of under 30 power level to the table. These units are changed somewhat from their original profiles:
Chaque joueur doit retourner une unité qui ne vaut pas plus que 30 PL, au champ de bataille. Ces unités sont légèrement changées.

They gain:
1) the daemon keyword
2) 5+ invulnerable save (ignore if unit previously had a better invulnerable save)
3) -1 ballistic skill (2+ bs becomes 3+ bs)
Les unités gagnent:
1) le mot clé Daemon
2) une sauvegarde invulnérable de 5+(à ignorer cependant ils ont une meilleure sauvegarde avant)
3) -1 compétence balistique (un BS de 2+ devient un BS de 3+BS).


As revenants of their original selves they behave unpredictably. Roll a d6 for each returned unit at the outset of each sides' turn.
Grâce à leurs transformations, le comportement de ces unités demeure imprévisible. Jeter un d6 pour chaque unité qui est revenue au début de chaque tour complet.

1-3 The original owner retains control of the unit
4-6 The opposing side takes control of the unit
1-3 Le propriétaire d'origine garde contrôle de l'unité
4-6 L'ennemi garde contrôle de l'unité


Turn 4


Quatrième Tour


Poor urban planning
Une mauvaise planification urbaine

The weight of months of conflict coupled with the sudden burst of warp energies into real space make the surrounding terrain unstable.
L’addition des éclats des énergies de la déformation dans l'espace réel aux mois de conflits a rendu le terrain instable.

Roll a d6 for each piece of terrain (aside from the warp gate) before either side's turn. On a 1-2, the terrain collapses killing any model wholly inside it. Any model partially inside suffers d3 mortal wounds. Remove the terrain piece if possible after all damage is resolved. Any surviving terrain grants +2 to saving throws instead of the usual +1 due to warp growths and gases obscuring line of sight and changing the physical texture of the battlefield.
Jetez un d6 pour chaque morceau de terrain avant les tours de chaque équipe. Un résultat de 1-2 signifie le terrain en s'effondrant, tue toutes les figurines complètement dedans le morceau. Les figurines qui sont partiellement dedans vont souffrir de d3 blessures mortelles. Enlevez toutes les morceaux après que les dégâts sont résolus. En raison des transformations de la déformation, le terrain survivant va donner une prime de +2 aux sauvegardes et non l'habituel de +1.


Turn 5


Cinquième Tour


Hey! Watch where you're aiming that thing!
Voyons donc. Prenez garde d’où tu le pointes.

Turncoats in your midst. Choose an enemy unit that is not a lord of war that is under 20 power level, and use it as your own for the rest of the game.
Il y a des vires-capots entre nous. Choisissez une unité de l'ennemi qui n'est pas un seigneur de guerre et qui est en bas de 20PL. Vous pouvez l'utiliser comme l'unité est le vôtre pour le reste de la partie.


Apocalyptic Stratagems
Les stratagèmes apocalyptiques


Use keystone stratagem points (KSP) to purchase these stratagems. No stratagem can be used more than once in the game per team:


1) Didn't hurt


Il ne m'a pas fait mal


(cost: 1 KSP per 20 power levels of target, activates before controlling player's movement phase)

The dark Gods are not pleased that one of their pawns has been removed from play. One slain friendly model can rejoin the fight. It enters play as a regular reserve unit would.


2) Assassination


Assassination


(cost: 1 KSP per 20 power level of target, activates before controlling player's movement phase)

A ghostly form emerges from the immaterium, the embodiment of your warlord's rage and frustration, bursting into realspace to strike at a hated enemy. An enemy model is slain at the beginning of your turn before the movement phase.


3) Warp energy feedback


La récupération d'énergie de la déformation


(cost: 1 KSP per target, activates during controlling player's shooting phase)

Bending the warp to your will, the borders betwwen realspace and the immaterium begin to blur and designated targets are dragged into the clutches of the Chaos Gods through tears in reality. Each target suffers 2-12 s7, ap -3 hits. The same unit cannot be targeted twice.


4) Keystone Caper


Escapade du clef de voûte


(cost: 1 KSP, activates before controlling player's movement phase)

Your warp minions have managed to infiltrate the enemy lines and slip away with their prize undetected. Steal a keystone away from the enemy, even one in a transport and place it in one of your own infantry units. Said unit can be embarked so the keystone will be embarked as well.


5) The Warpborn!


Le né de la déformation


(cost: 2 KSP, activates before controlling player's movement phase)

All four dark Gods whisper promises of glory and victory into the mind of the once self-willed warrior. The temptation is too much and he or she becomes a willing vessel for the frantic energies of the warp. The first step into madness is to slaughter all of his or her comrades.

Choose an infantry unit, remove all models from the table and replace them with a single possessed figurine. This model is now yours to control with the following profile:


Tokens/Charts
Les jetons et tableaux


Contents
Tables des matières